DjangoBooks.com
Welcome to our Community!
Categories
- 20K All Categories
- 1.1K General
- 480 Welcome
- 59 Archtop Eddy's Corner
- 146 CD, DVD, and Concert Reviews
- 385 FAQ
- 26 Gypsy Jazz Italia
- 27 Photos
- 207 Gypsy Picking
- 21 Unaccompanied Django
- 15 Pearl Django Play-Along Vol.1
- 17 Gypsy Fire
- 45 Gypsy Rhythm
- 1.4K Gypsy Jazz University - Get Educated
- 131 Gypsy Jazz 101
- 230 Repertoire
- 225 History
- 709 Technique
- 51 Licks and Patterns
- 6 Daniel Givone Manouche Guitare Method Users Group
- 20 Eddie Lang Club
- 1.3K Gypsy Jazz Gear
- 811 Guitars, Strings, Picks, Amps, Pickups and Other Accessories
- 463 Classifieds
- 50 Recording
- 62 Other Instruments
- 18 Violin
- 5 Mandolin
- 22 Accordion
- 7 Bass
- 10 Woodwinds
- 349 Gypsy Jazz Events
- 143 North America
- 111 Europe
- 95 International
In this Discussion
BYO - pics as pwomised!
I know you were all thinking, "..he keeps going on about it, isn't it about time he put up pics of his dad's build?".
Of course you were! ;D
And of course, you're right, it is about time.
(Don't know about you, but endless lockdowns and all I've got is time on my hands and yet, each day just seems shorter than the last..??!)
Well, here we are: PICS.
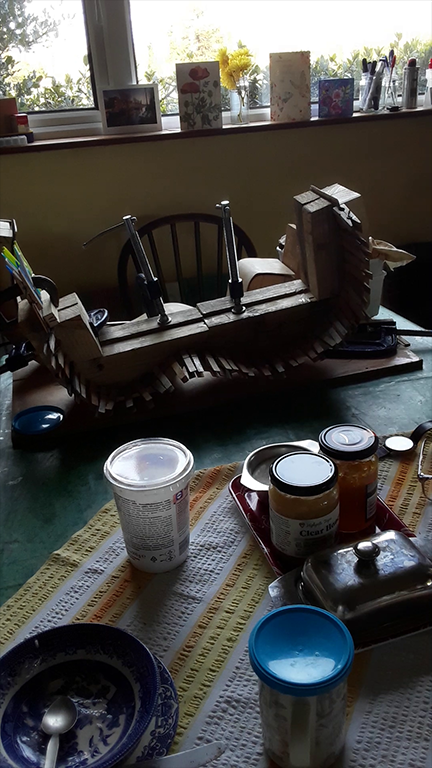
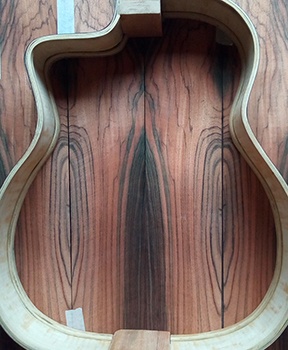
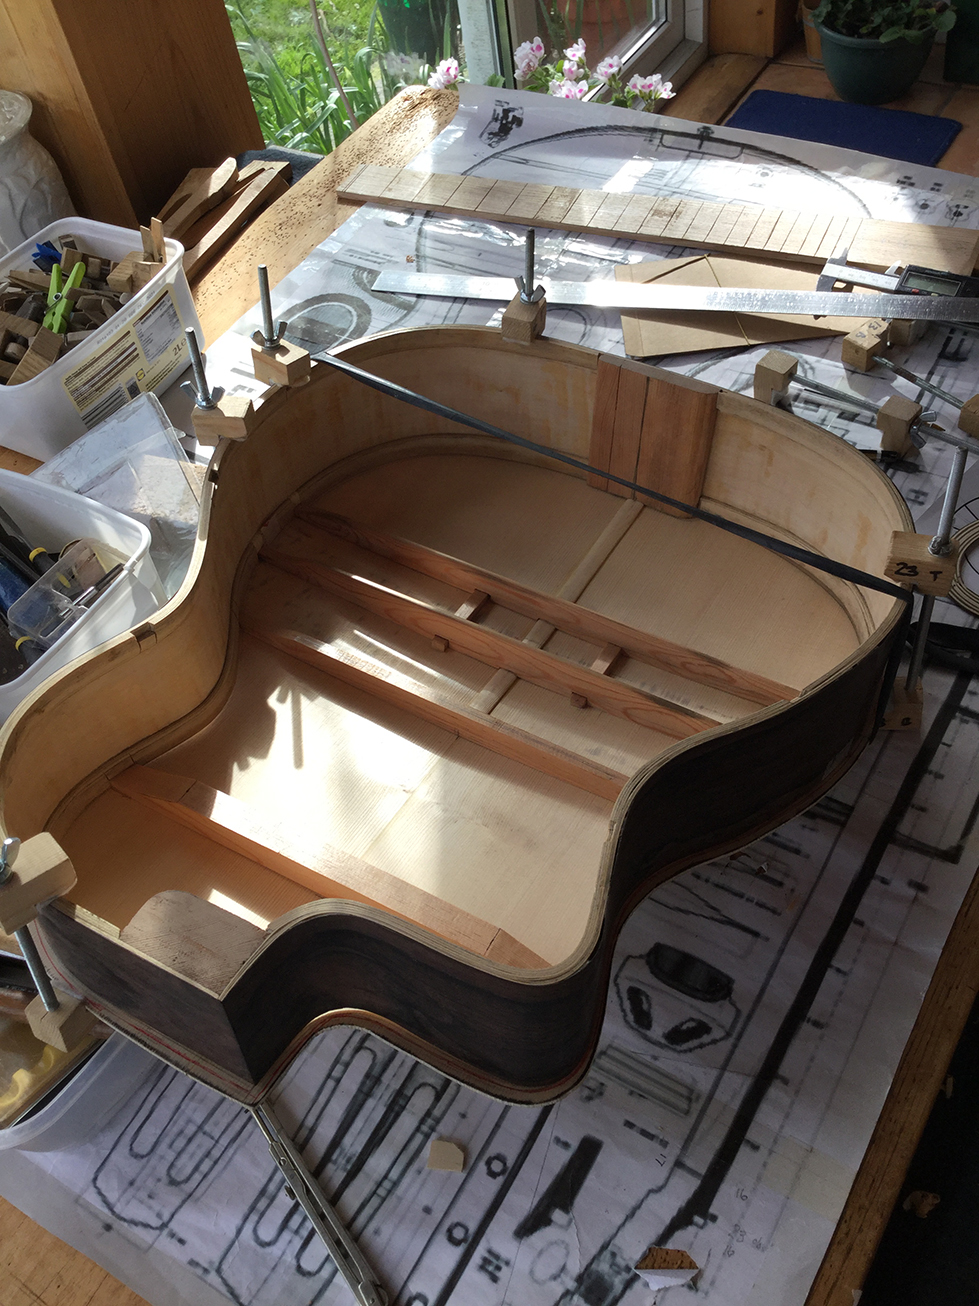
- breakfast with a side of side moulding
2. 'kerf'ul with that axe, Eugene
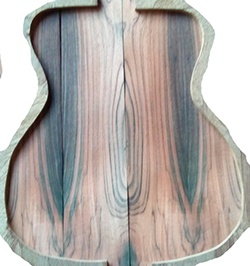
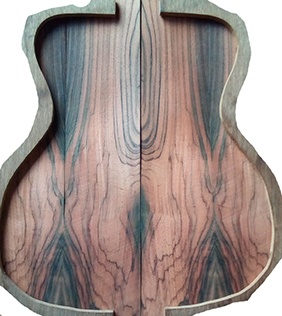
3. choosing between possible orientations for veneer
4. choosing between possible orientations for veneer
5. the final choice
6. and we're stuck with it
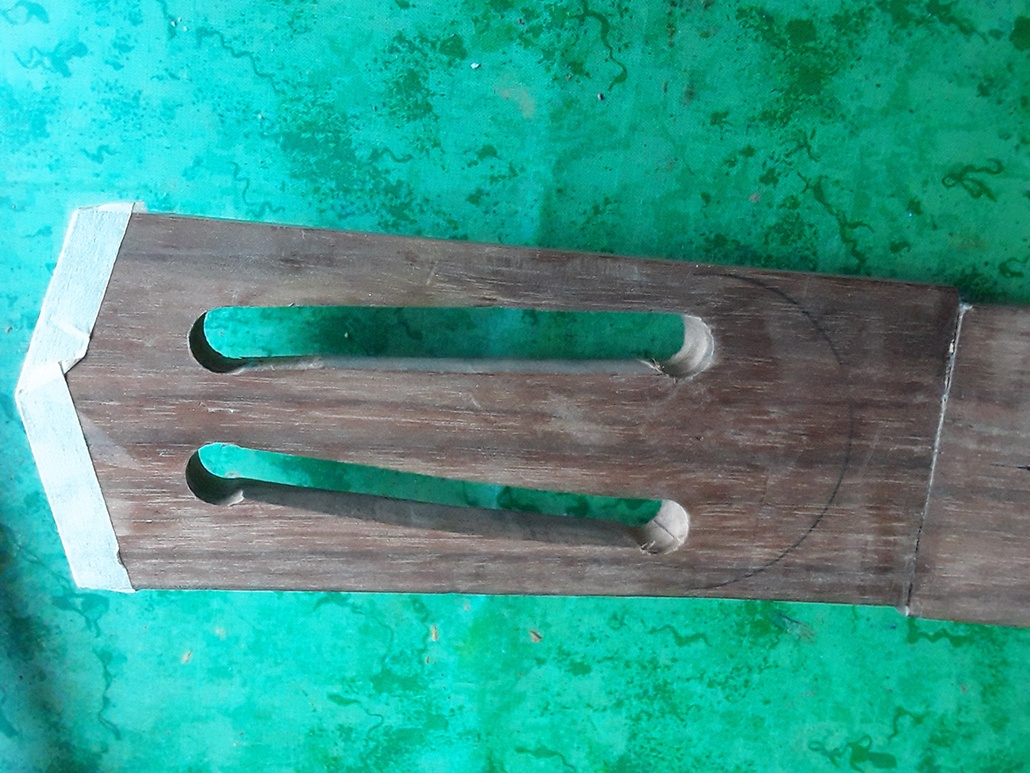
7. mmm, lollipop
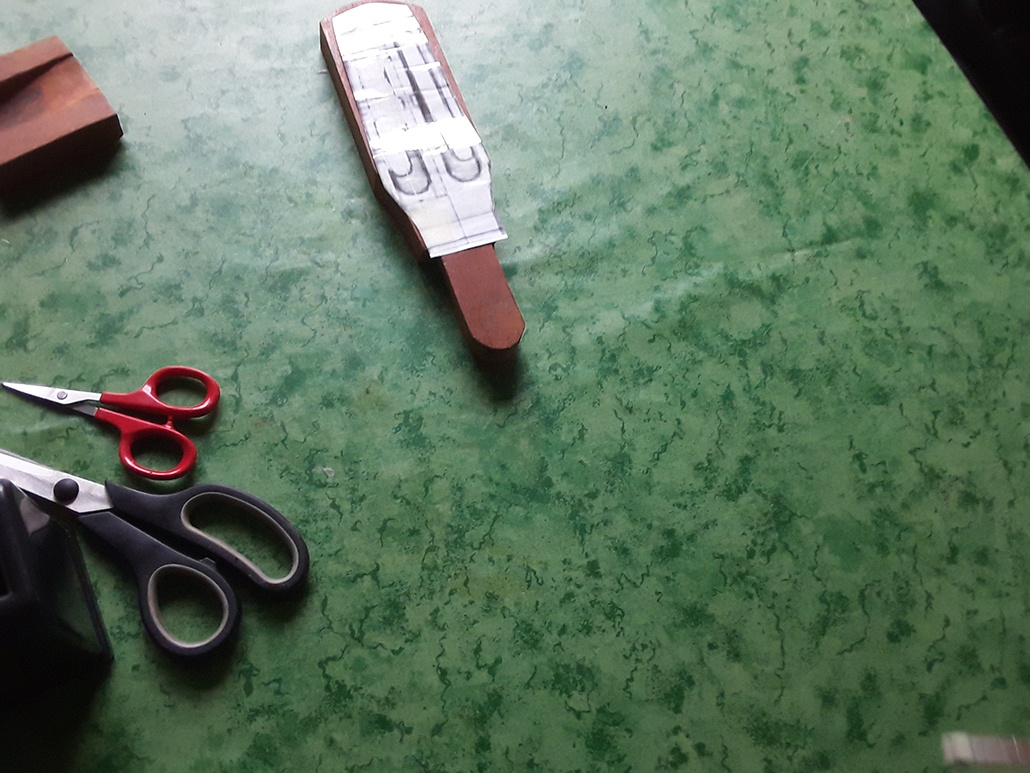
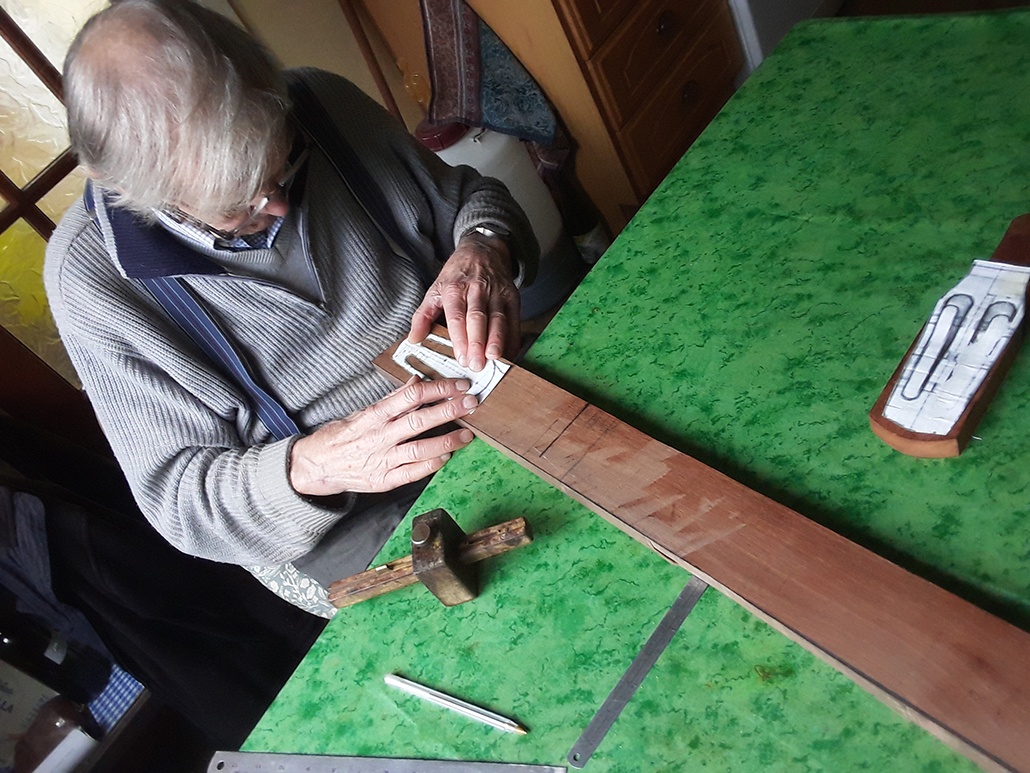
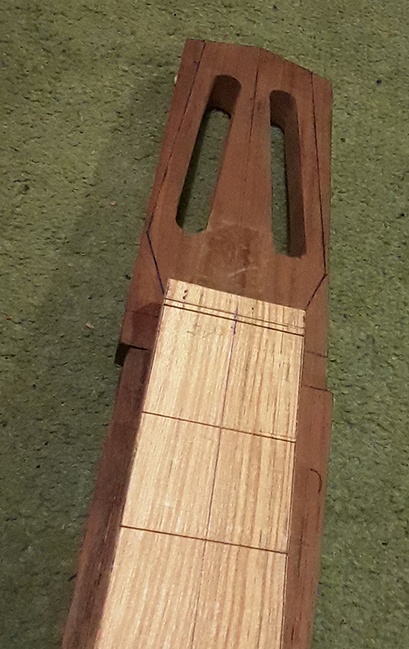
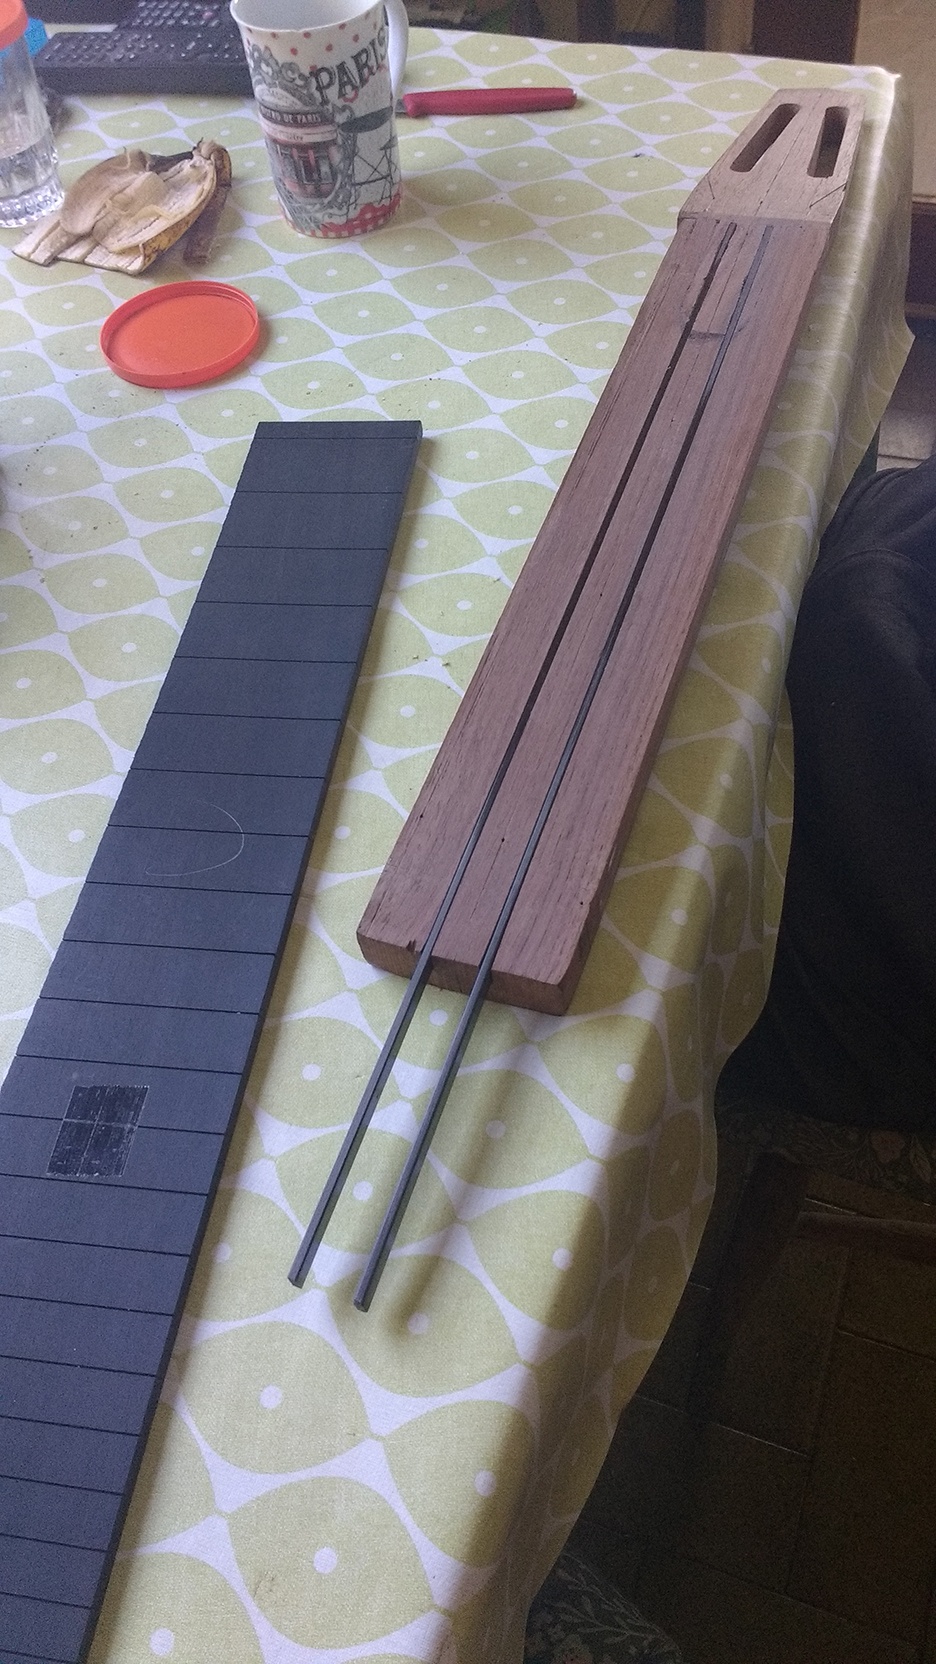
8. let's make a neck
9. good start
10. 'round the back
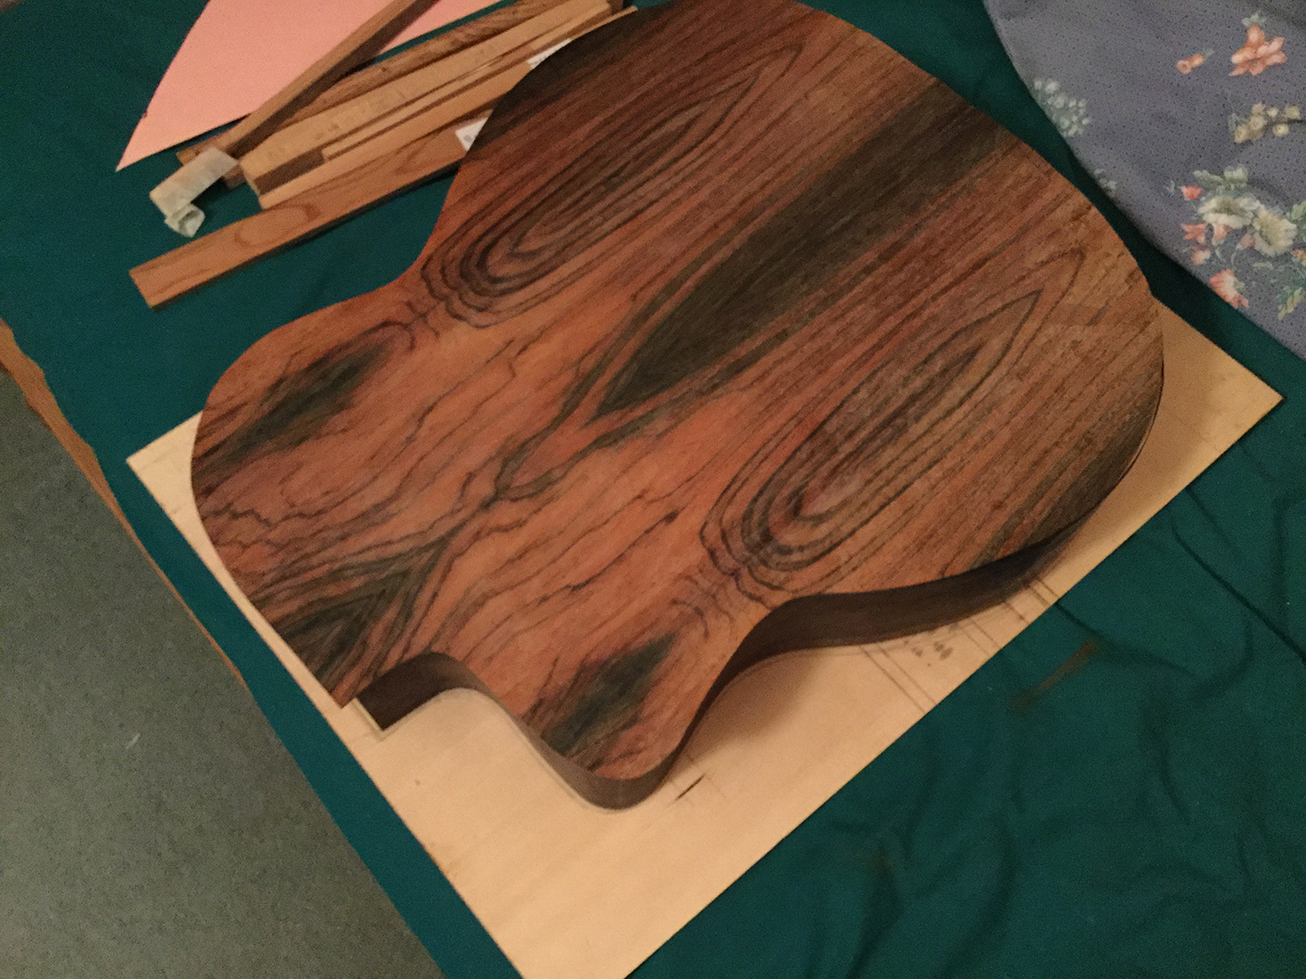
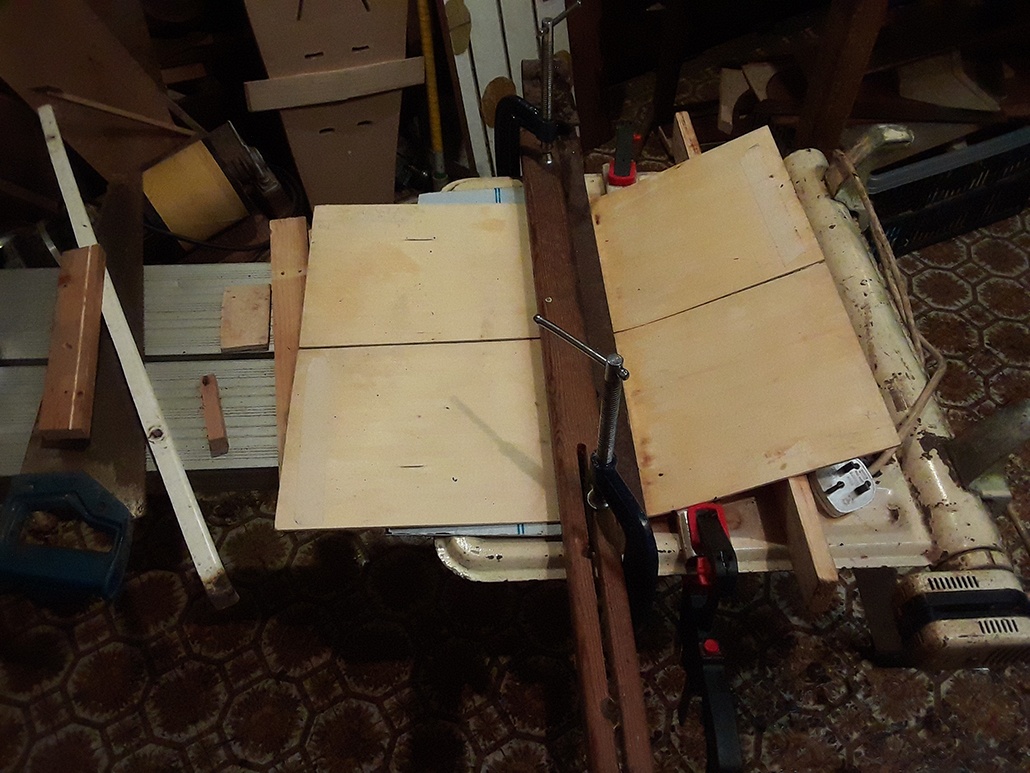
11. that top needs a crease (thanks Craig B. for the method!)
12. 6 degrees, as specified
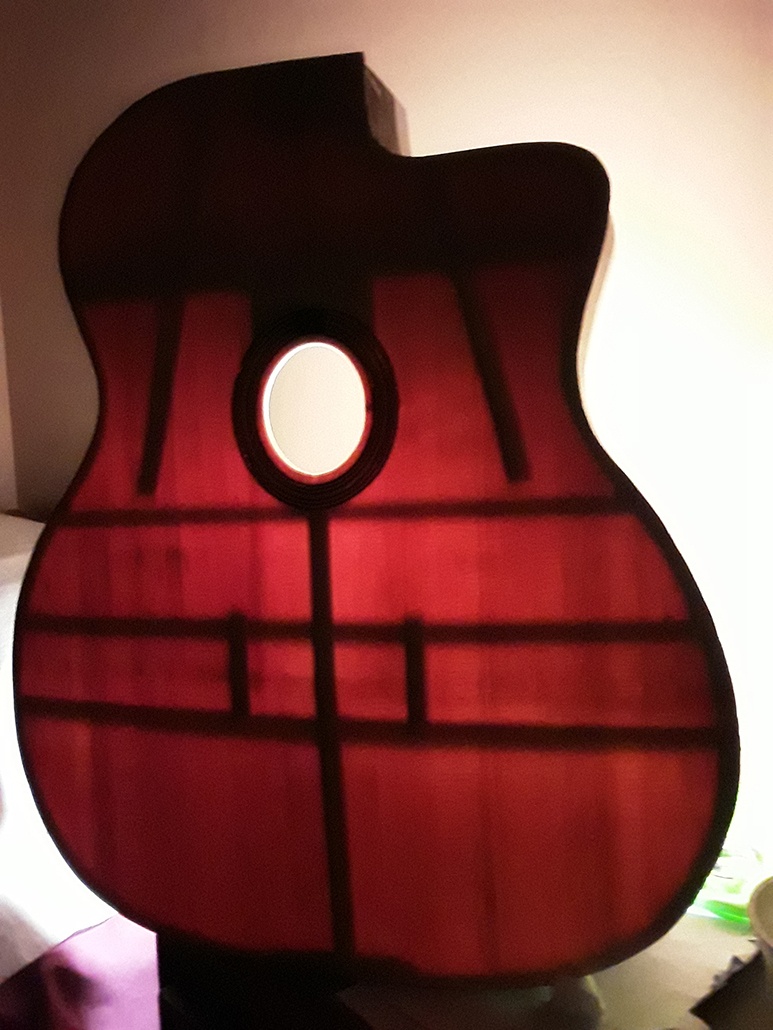
13. brace yourself (more puns a-comin')
14. "It's alive!!"
15. come on, work to do
16. "not sure about this"
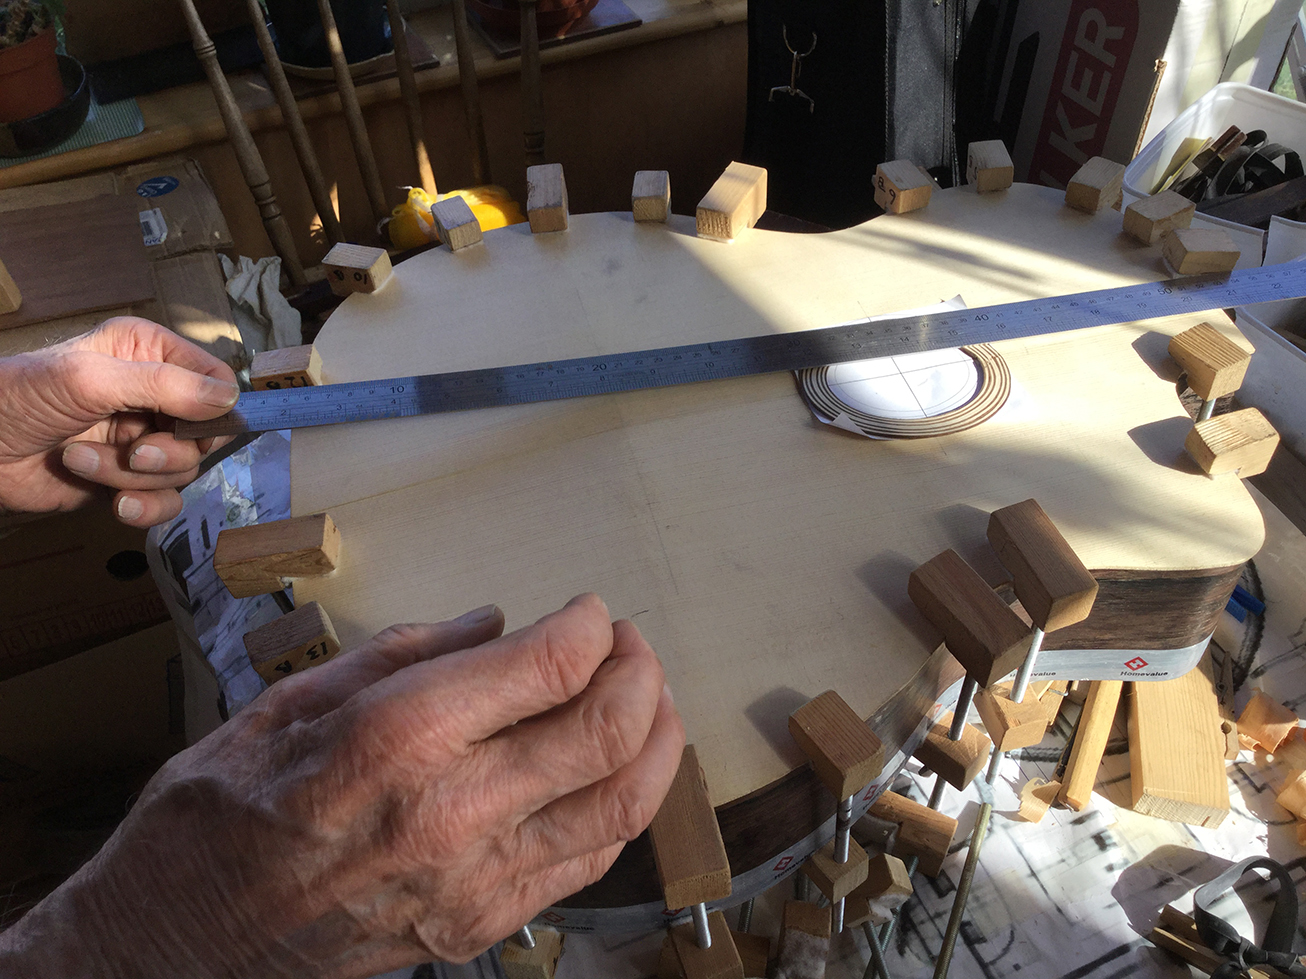
17. "ok, measure twice, cut once"
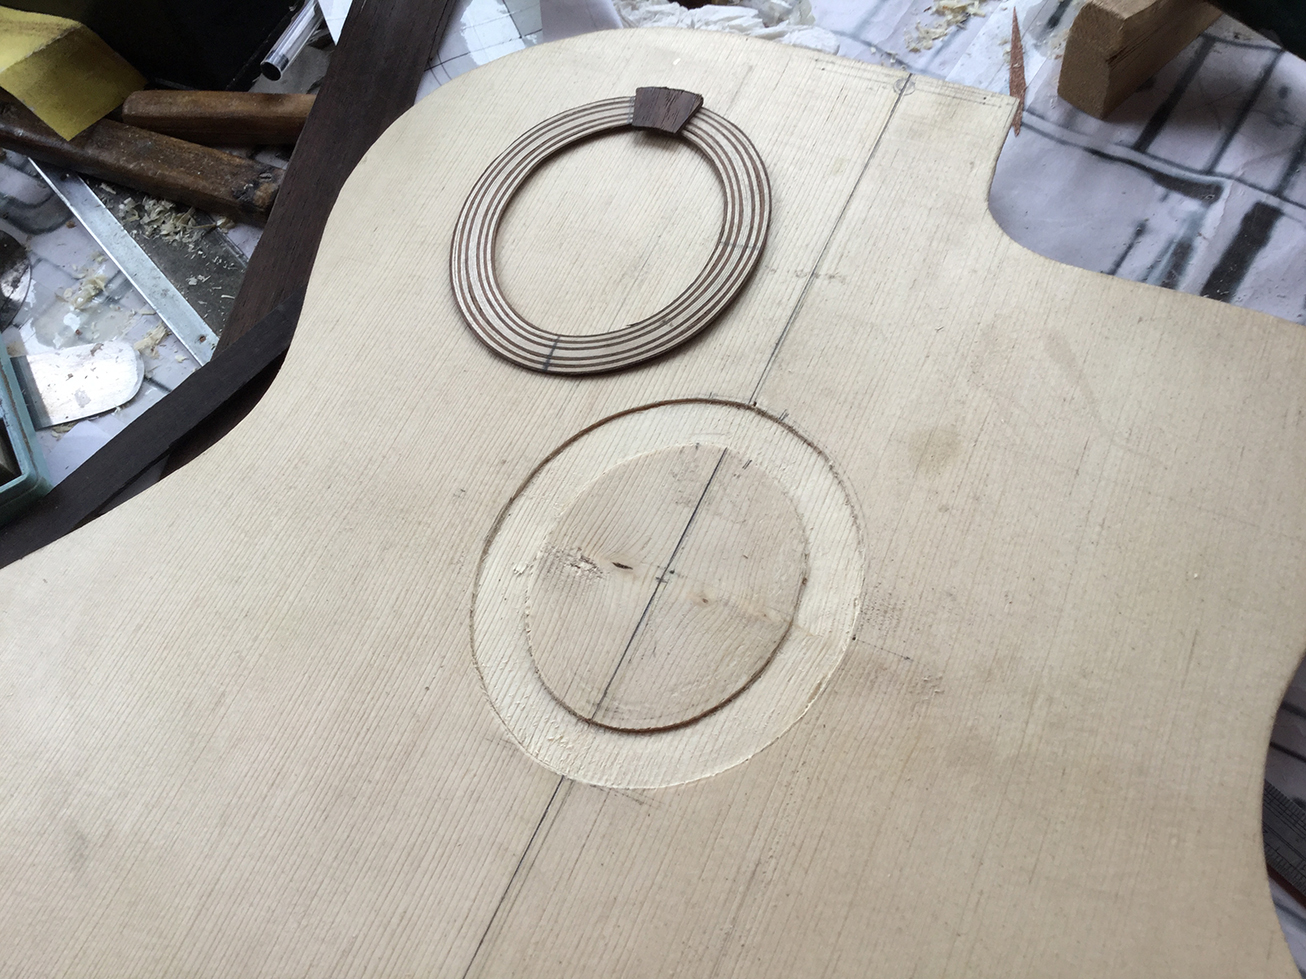
18. dat goes in dere
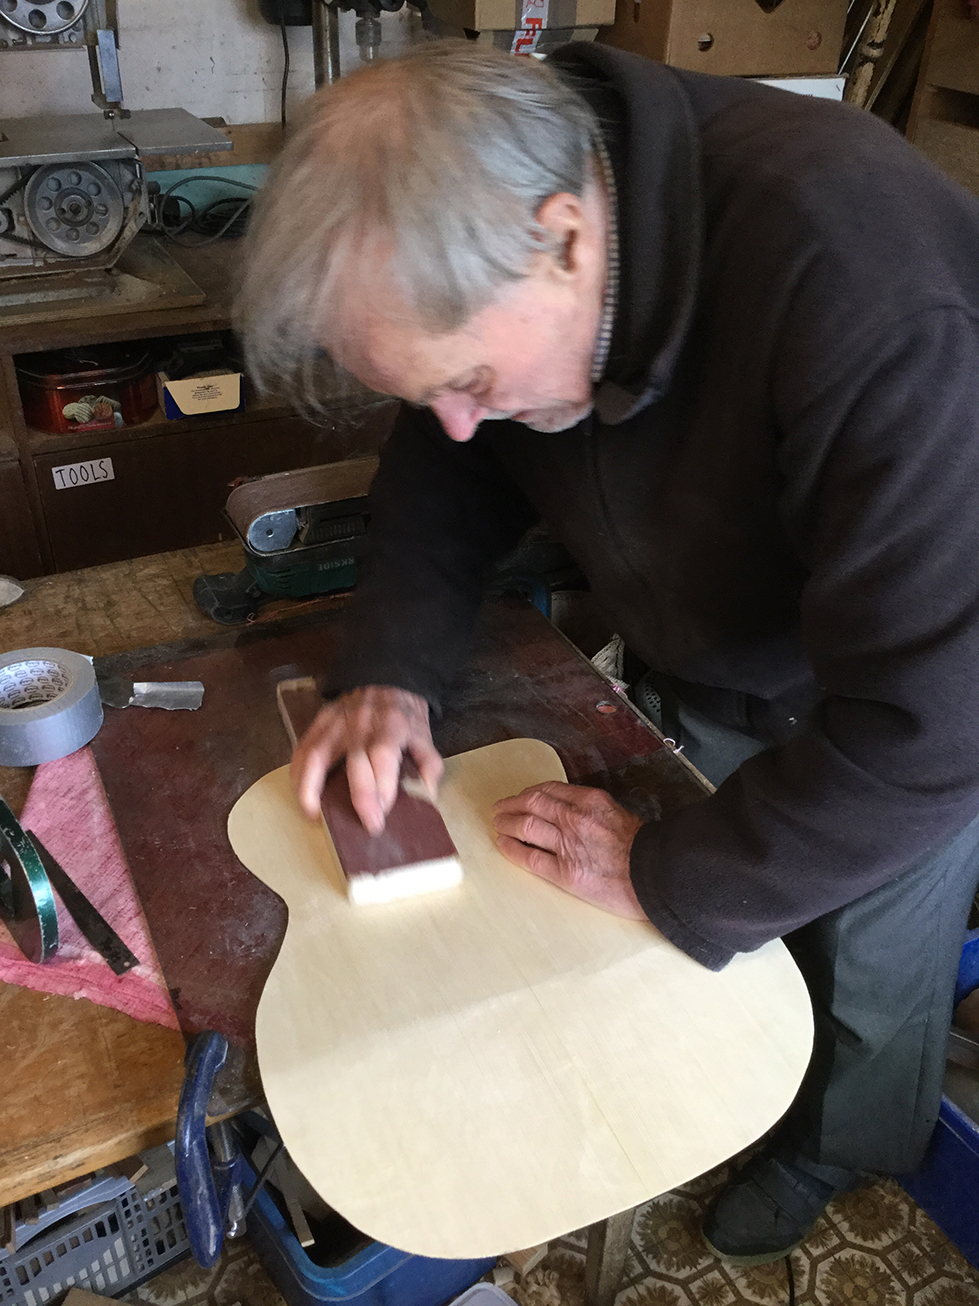
19. a smoooth one
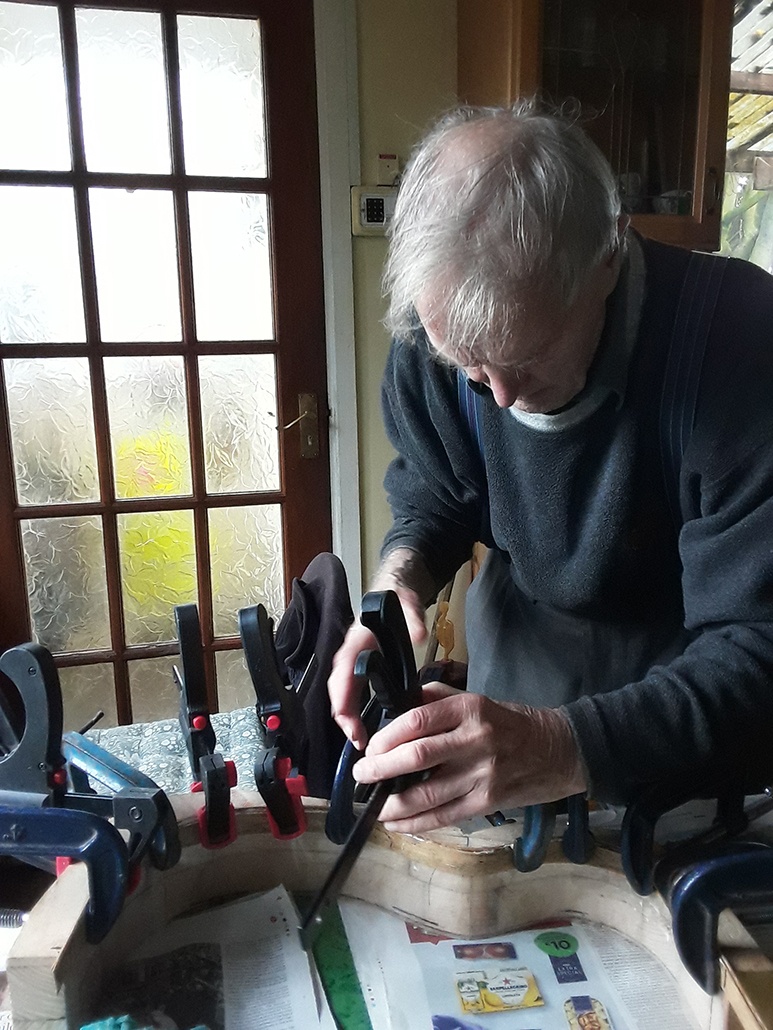
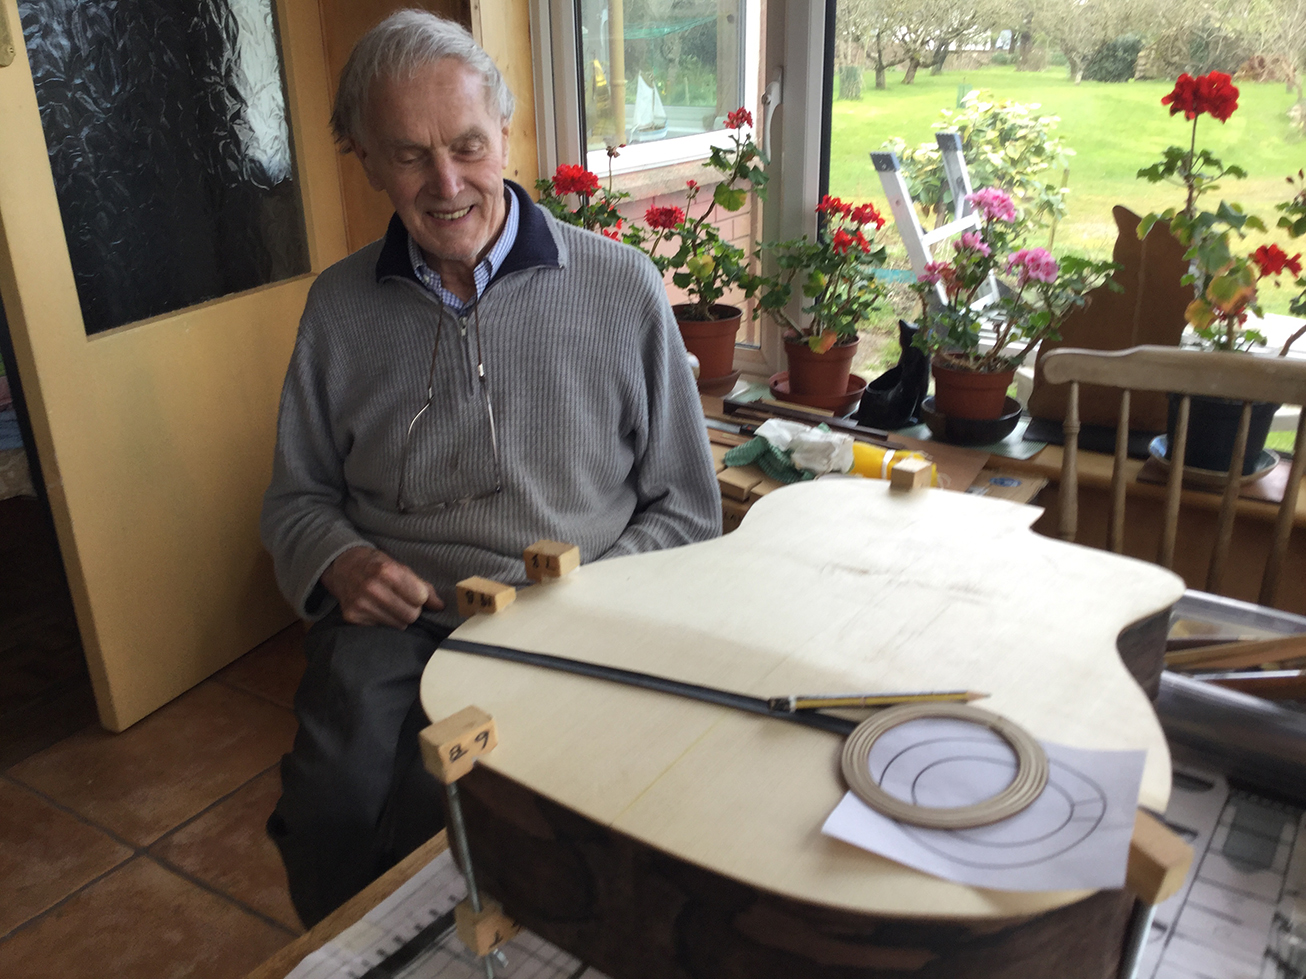
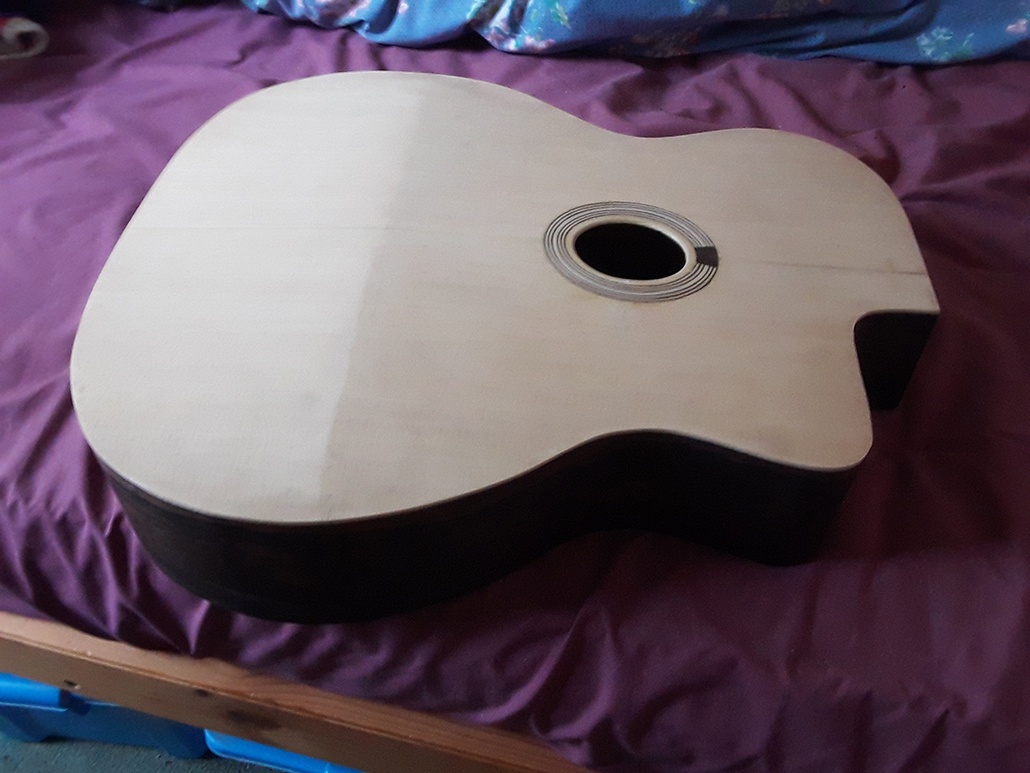
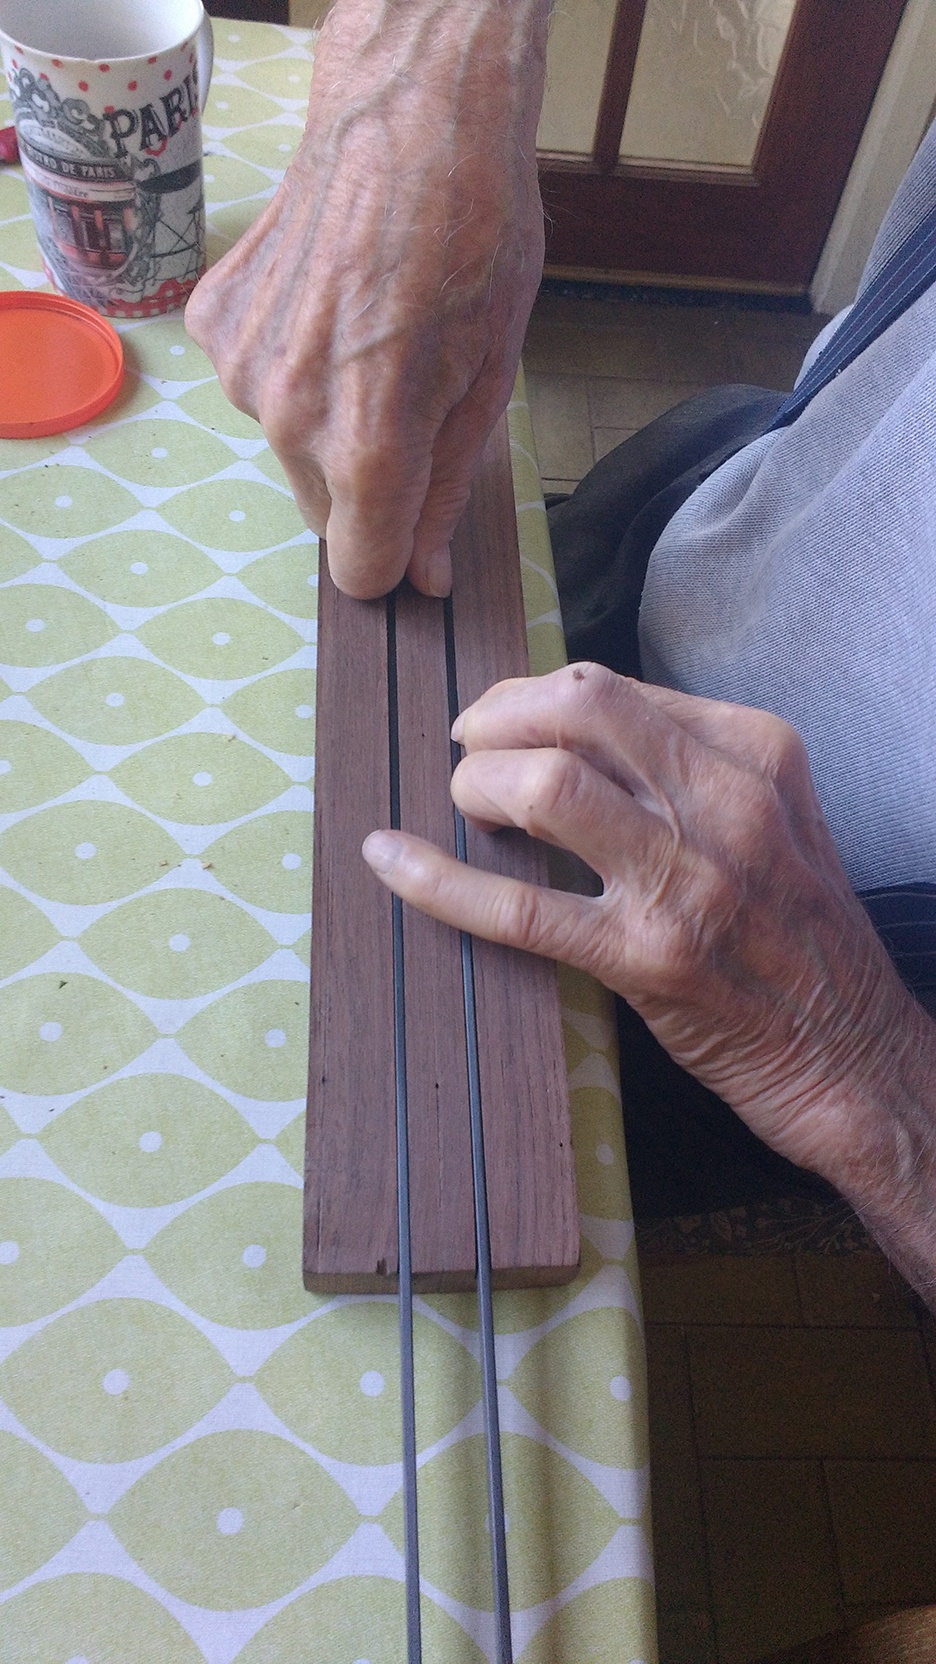
20. older gentleman with a stiffy
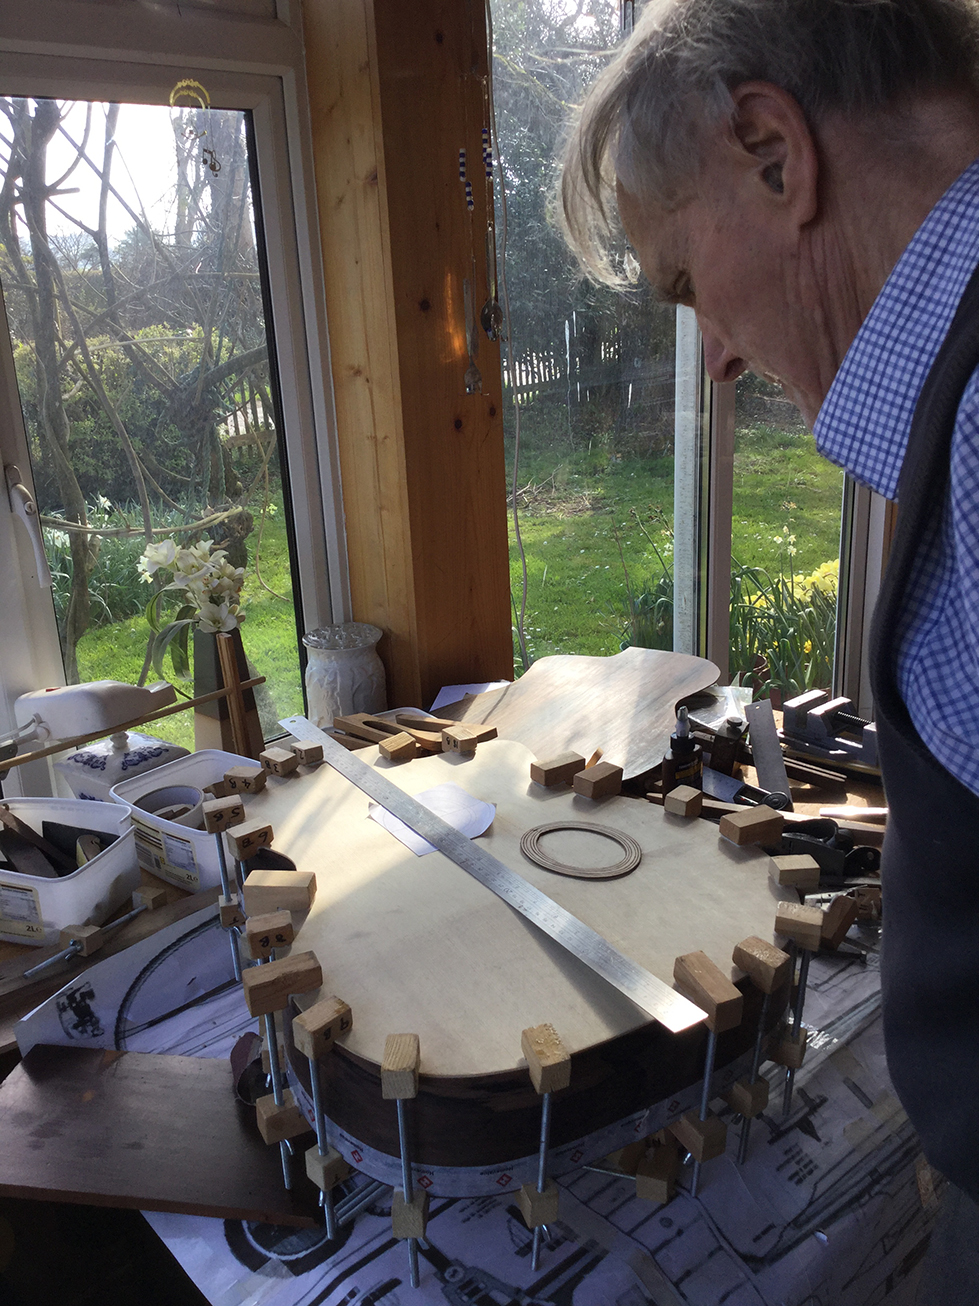
21. "Take that! string tension.."









Comments
Nice!!! Any more pics of your pliage fixture? Did u bend the top after gluing the center seam? Thanks for the update.
You're one lucky son... Bowing to your dad.
Omitting bottom brace? 👍️
18. dat goes in dere
Uff da! With language like that, I woulda said you were a Sconnie or a Yooper, not from Ireland! 😁
Looks amazing! Good work! 😎
Looks good! I'd love to hear some samples once it's ready.
This looks more complicated than it ended up being. I had the brainwave to do it on top of a hot radiator but it turned out that because that's an oil-filled radiator, it didn't work on its side! so we unplugged it (as the keen-eyed among you would have noticed!).
So basically all it is is the 2 halves of the top on a flat surface with a beam clamped across 'em, with another couple of slabs of wood shoved under the 'lip' to push it up..
Then there was lots of hot water and even a blow torch along the metal beam in the centre (in case you can't quite see it, that's a rusty old gate hinge with a bed headboard upright clamped on it!)
I proudly managed to avoid scorching the wood with the torch but the rust from the rusty old gate hinge travelled, with all the hot water, into the fibres of the spruce.. :/ - but fortunately, it's 'inside up' with this method so you cannae see it now!
This was the method detailed by Craig Bumgarner in this post (https://www.djangobooks.com/forum/discussion/6010/byo-the-pliage/p1)
(We are seriously indebted to Craig for information we've gleaned from his posts - as well as to everyone else who has taken the time to offer answers to my numerous questions. Sincere thanks to all of you.)
I thought it best to bend them next to each other like that so as to form a contiguous pliage line through them both that would be a straight line across the top when joined - I used a set square to position them and the cross-brace..
I figured there must be a good reason most people don't glue them first (probably all the hot water [or steam in other methods] would compromise the glue joint), so we didn't.. After bending, I clamped a couple of beams on the bench angled like this / \ and we cut a similar angle on the sides of the 2 halves of the top - then we pushed them into the wedge shape between the two beams to clamp the glue joint (neat little trick I stole from someone or other on the internet)